
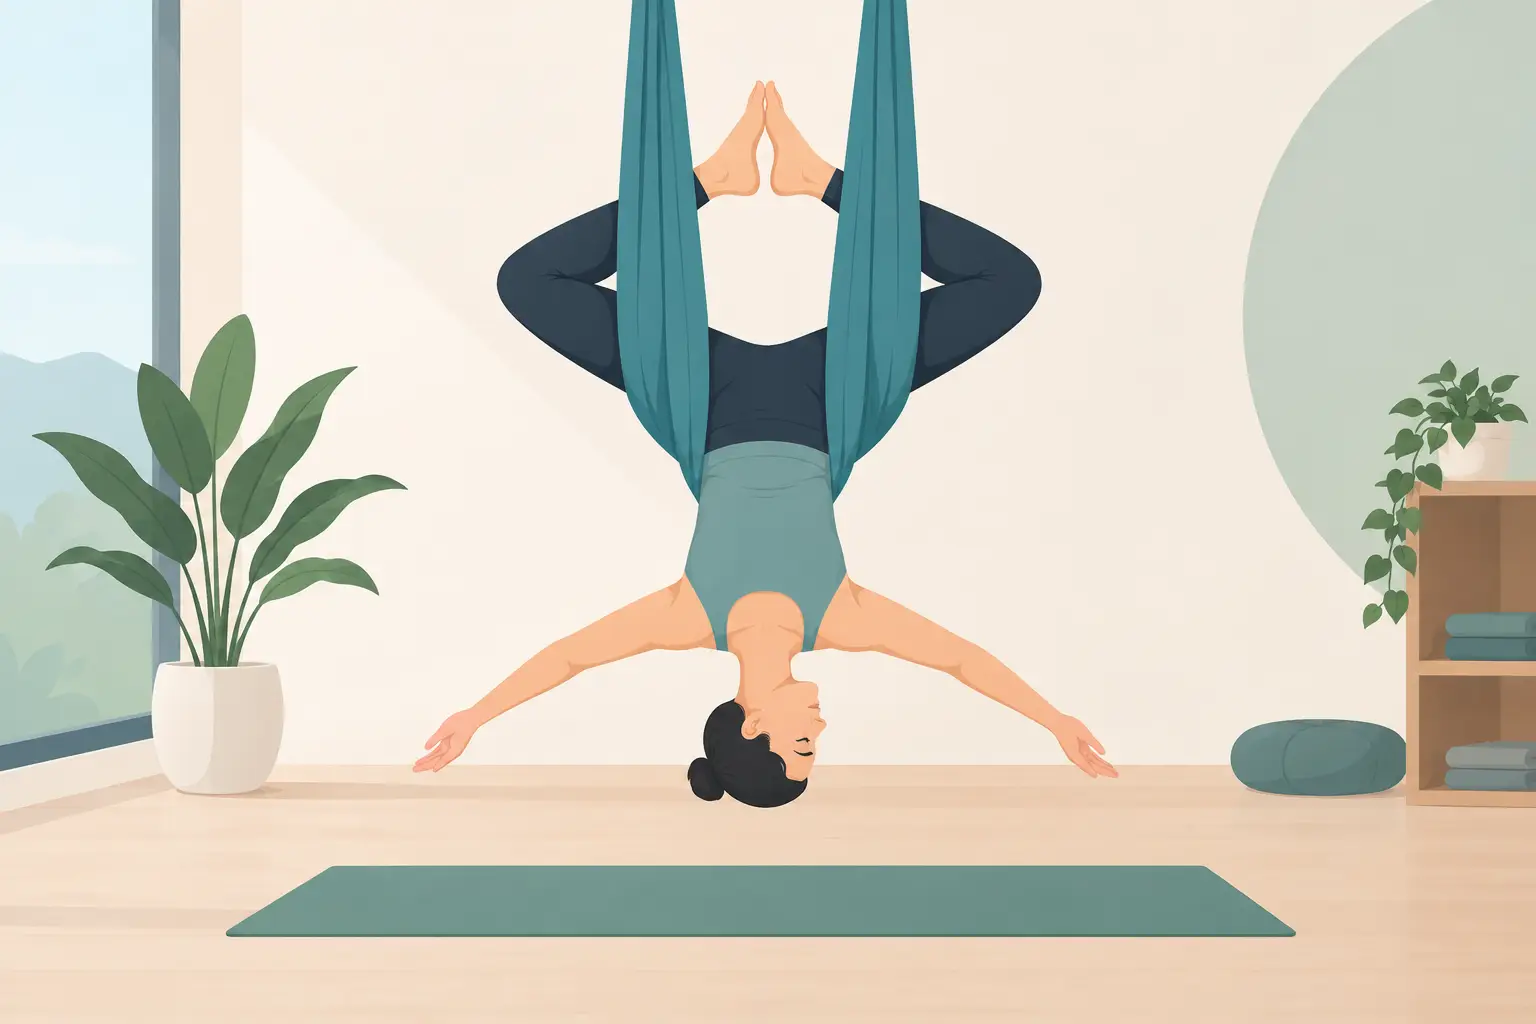
A hammock inversion can look dramatic from across the room, yet its most meaningful feeling is often surprisingly quiet: a supported pause, a new point of view, and a chance to trust your body a little more. This guide to hammock inversions is for people who are curious about going upside down in aerial yoga but want a calm, clear path into the experience.
Inversions are not a test of bravery, flexibility, or fitness. They are a practice in listening. With a properly rigged aerial hammock, thoughtful instruction, and permission to move at your own pace, many beginners can explore gentle upside-down shapes with more support than they expect.
Why Explore Hammock Inversions?
An inversion is any shape where the head is lower than the heart. In aerial yoga, the silk hammock can cradle your hips, lower back, shoulders, or legs, reducing the amount of effort needed to hold yourself upside down. That support can make inversions feel more approachable than balancing in a traditional headstand or handstand.
Some students enjoy the gentle decompression through the spine and the opening across the chest and shoulders. Others appreciate the playful feeling of floating or the mental reset that comes from seeing the room from a new angle. There can also be a quiet confidence in doing something that once felt outside your comfort zone.
Still, an inversion is not automatically right for every person or every day. Your energy, mobility, health history, and comfort with being upside down all matter. The goal is not to stay inverted for a long time. It is to find a shape that feels steady enough to breathe in.
Before You Go Upside Down
The safest inversion begins before your feet leave the floor. Aerial hammocks must be professionally installed, appropriately rated, and checked regularly. At a studio, your instructor should guide you in adjusting the hammock height and using the silk in the intended way. Home aerial practice requires the same level of care, not an improvised setup with a doorway bar or uncertain ceiling anchor.
Wear comfortable clothing that allows you to move without slipping. Leggings or fitted pants are often more comfortable than loose shorts, since the fabric can press behind the knees or around the waist. Remove jewelry that may catch the silk, and avoid lotions that can make your hands slide.
It also helps to arrive with a little space around your meal. A very full stomach can make being upside down unpleasant. Hydrate, but listen to your body rather than forcing extra water right before class.
Tell your instructor about injuries, surgery, dizziness, high blood pressure, glaucoma, pregnancy, osteoporosis, or any condition that may affect your experience with inversions. This is not about being excluded from aerial yoga. It is about receiving a variation that respects your body. Sometimes that means a partial inversion, a restorative hammock shape, or staying upright and building strength first.
A Gentle Guide to Hammock Inversions: Start With Trust
For beginners, the first hurdle is often not strength. It is trust. Trust in the hammock, trust in the instructor’s guidance, and trust that you may come down whenever you choose. Small, supported movements help build that trust more effectively than pushing into a full inversion too soon.
Start by becoming familiar with the fabric while close to the ground. You may lean back into the hammock with both feet planted, letting the silk support your upper back. You might practice a seated swing, a supported squat, or a reclined rest with the hammock beneath your hips. These shapes help you feel where the fabric holds you and how your body responds to gentle movement.
From there, many classes introduce a partial inversion. With hands holding the hammock and feet connected to the floor or fabric, you may tip your hips back while keeping your head only slightly lower than your heart. This is enough to explore the sensation without committing to a deeper shape.
A full inversion may come later, often with the hammock supporting the low back or pelvis while the legs extend upward. Your instructor may offer hands-on spotting or clear verbal cues for entering and exiting. Take your time. A calm entry and a controlled return to standing matter more than how polished the shape looks.
Breath Is Your Best Safety Cue
Once you are in an inversion, your breath offers useful information. If you can take slow, steady breaths and soften your jaw, shoulders, and hands, the shape may be an appropriate challenge. If you are holding your breath, gripping hard, feeling panicked, or experiencing pain, it is time to come out or ask for help.
It is common to feel a little uncertain during your first attempts. Novelty can make the nervous system alert. But uncertainty should not become distress. Your instructor can help you find a smaller version, add a foot to the floor, or choose another pose entirely.
Avoid quick or forceful transitions. Moving too fast can create dizziness, disorientation, or a sense of losing control. Instead, pause after coming upright. Place both feet on the ground, look at a fixed point, and take a few breaths before walking away from the hammock.
Common Beginner Inversions and What They Offer
Aerial yoga classes vary, but beginner-friendly inversions often include a supported hip hang, a bent-knee inversion, or a gentle cocoon variation. In a hip-supported shape, the hammock holds the pelvis while the upper body relaxes back. The legs may stay bent, which can feel more secure and reduce strain through the hamstrings.
A bent-knee inversion can be an especially helpful stepping stone. Keeping the knees bent brings the body into a compact shape and may make it easier to enter and exit with control. Straight legs are not a requirement. They are simply one option when strength, confidence, and flexibility align.
A cocoon-style shape uses the hammock to create a contained resting space. Depending on the setup, it may be fully inverted, partially reclined, or simply deeply supported. For people who crave restoration more than intensity, this can offer the peaceful sensation of aerial practice without a demanding transition.
The best variation depends on your body and your intention that day. If you want to strengthen your grip and core, a more active entry may be appropriate. If you are seeking nervous-system calm after a stressful week, a supported, low-to-the-ground shape may be the wiser choice.
How to Exit With Care
Coming out of an inversion deserves as much attention as going in. Follow the pathway your instructor has taught rather than trying to pull yourself upright in a rush. Usually, this means bringing the body back toward the hammock, finding the floor or a stable point of contact, and slowly returning the head above the heart.
Once upright, pause. A brief moment of lightheadedness can happen as circulation adjusts. Keep one or both hands on the hammock, bend your knees if needed, and breathe. There is no need to jump immediately into the next pose.
If you feel lingering dizziness, nausea, sharp pain, tingling, or unusual pressure in your head or eyes, stop and let your instructor know. Rest is a valid part of practice.
Let Progress Be Personal
Aerial inversions can build over time. One person may feel ready to hang upside down in a first class, while another may need several sessions simply to lean back comfortably. Neither path is better. Confidence grows through repetition, supportive teaching, and the experience of honoring your own boundaries.
At Cheemah, small aerial yoga classes create room for individual attention, questions, and modifications. That kind of setting can be especially reassuring when you are learning how the hammock feels around your body and discovering which variations support you best.
Your first hammock inversion does not need to be deep, graceful, or long-held. Let it be curious. Let it be supported. When your breath stays available and your body feels heard, even a few quiet seconds upside down can become a meaningful practice in renewal.
Leave a Reply